
Running an app on Jest is a steady stream of small context switches. Check retention. Update a product. Upload a build. Look up an SDK field name. Each one used to mean leaving your code for the Developer Console.
The Developer Console now ships with a built-in MCP server. Point Claude Code, Cursor, Claude.ai, ChatGPT, or any other MCP client at https://jest.com/mcp and your AI assistant can work directly with your Jest app: look up your apps, read analytics and finances, manage products and plans, upload builds and images, and read the Jest docs.
Your assistant already knows how to write your app. Now it can see what’s happening around it: how users are engaging with it, what’s driving revenue, and what it takes to ship the next version. If you’re already using an AI assistant to build, you don’t need to change how you work. Jest can now be part of that workflow.
Build, ship, and grow
Building a successful app takes more than code. You need to know whether users are coming back, iterate on products and pricing, ship new versions, and look up platform capabilities as you go. Until now, all of that lived in a separate dashboard.
- “How is retention looking for my app?” It pulls your analytics and helps you read them.
- “Add a $4.99 subscription plan and wire it up in the app.” It reads the Jest subscriptions docs, creates the plan in the Developer Console, and writes the SDK integration in your code.
- “Upload this build and make it live.” It gives your terminal the upload command, runs it, and makes the new version live.
Less time jumping between tools. Less copying between your dashboard and your code. It’s the shortest path from idea to live app, and from live app to the next iteration, that we’ve ever offered.
Connect your assistant
Open MCP under Tools in the console sidebar, then add the endpoint to your assistant as a remote MCP server.
For Claude Code:
claude mcp add --transport http jest https://jest.com/mcpThe first tool call opens the Jest sign-in page. Sign in with your normal Jest account, allow access, and you’re done. There are no API keys to create or copy. Sign in to the Developer Console at least once with that same account first, or your assistant will keep asking you to authenticate.
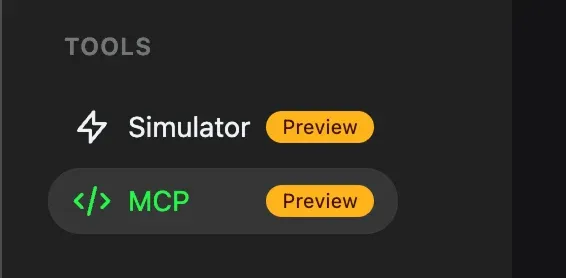
MCP lives under Tools in the console sidebar.
You stay in control
One access level on the MCP page applies to every assistant on your account: Disabled, Read-only (the default), or Read & write. Choose Read & write and you can also turn on Allow uploads, which lets assistants push builds and images from your machine.
Your team roles still apply on top, so the assistant can only see and change what your account can. Disabled blocks every connected assistant at once.
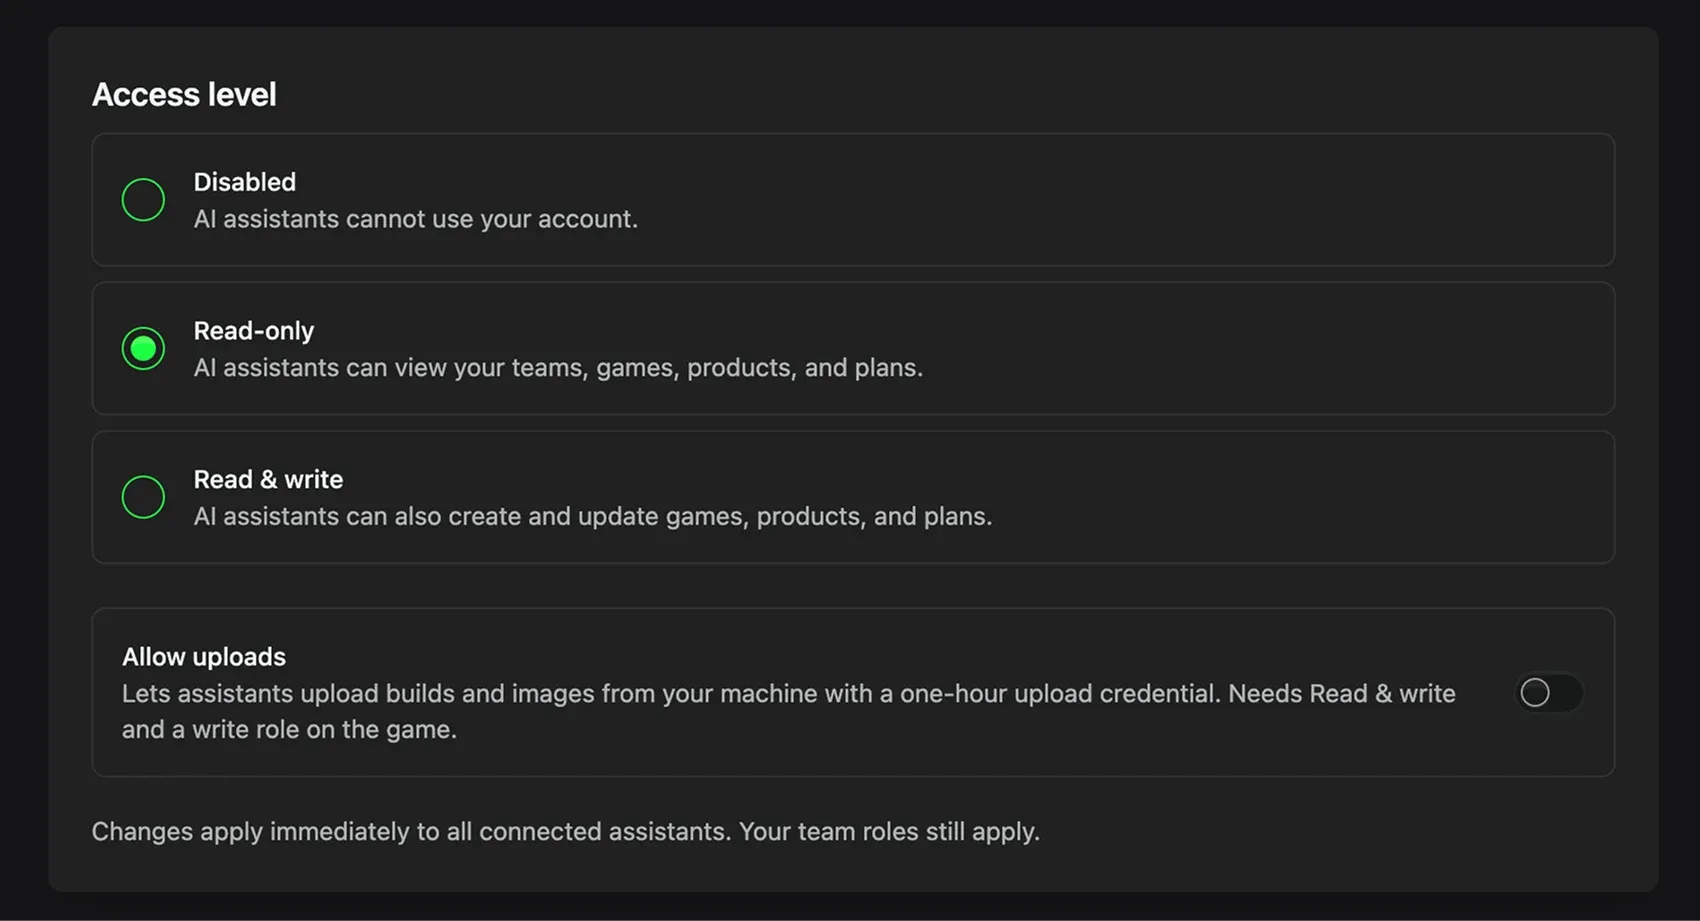
Access level and the uploads toggle on the MCP page.
What you can ask it
The Available tools table on the MCP page lists exactly what your assistant gets based on your roles and access level, with more than 30 tools in total.
A few things to try:
- “Show me last week’s daily active users for my app.”
- “Create a $4.99 product called 500 Gems.”
- “Upload
build.zipas version 1.2.0 and make it live.” - “How do I send a notification with an image?”
- “Read the Jest subscriptions docs and help me add a plan to my app.”
- “Look at my analytics and tell me what I should investigate next.”
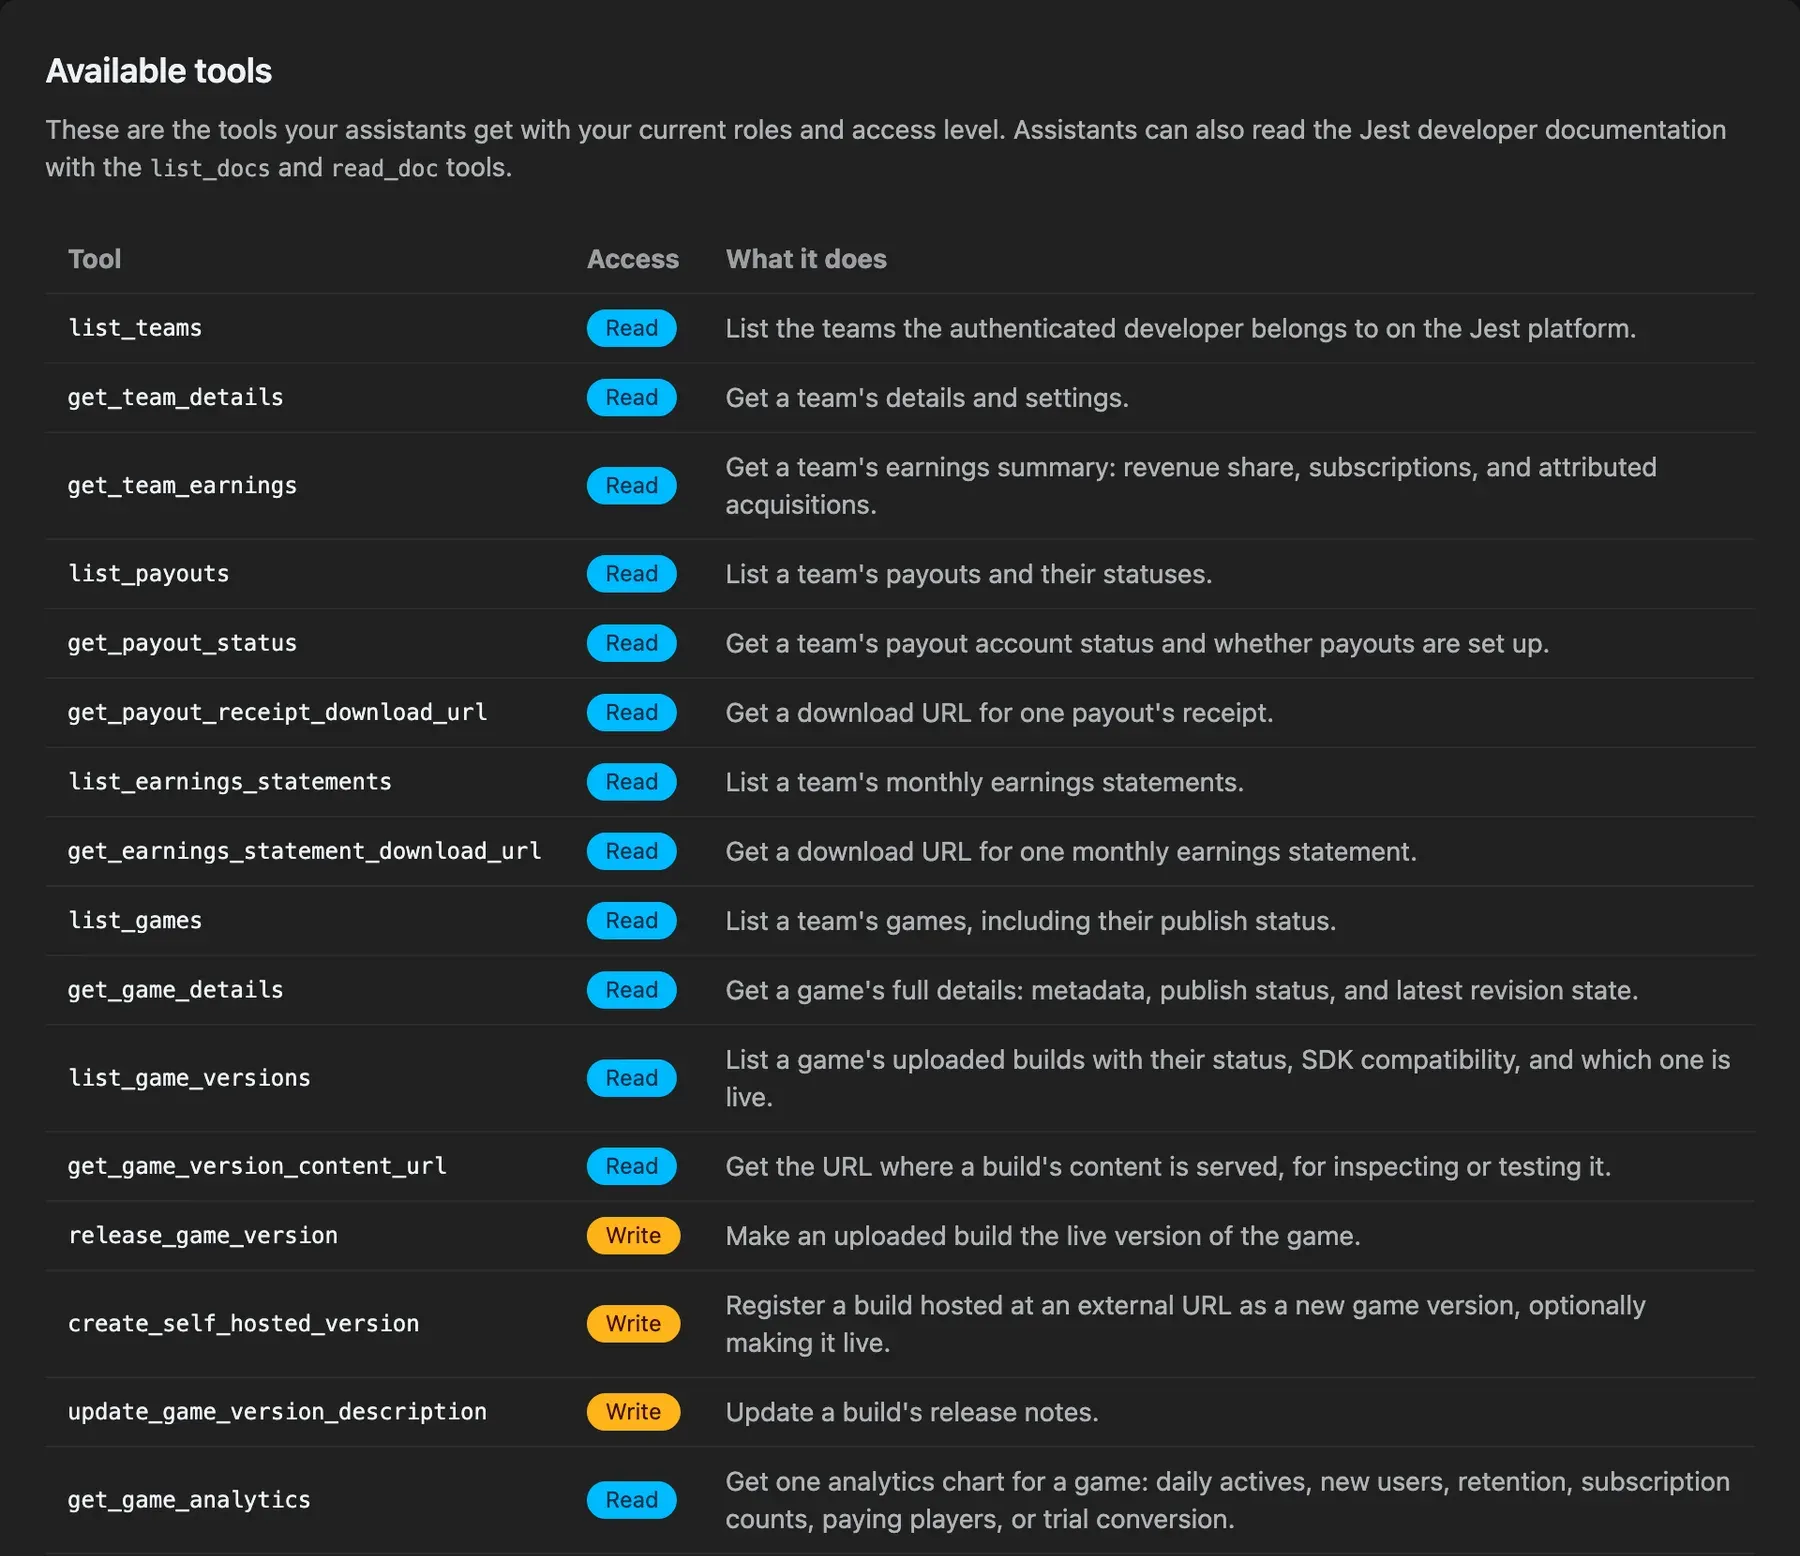
Part of the tools list. Each tool is marked Read or Write.
The MCP server is in preview, and tools may change while we work on it. Setup, the tool reference, and troubleshooting are in the docs: Connect an AI assistant.
And if your assistant does something useful with Jest that we didn’t expect, we’d love to hear about it.